Chicken Caesar Cups
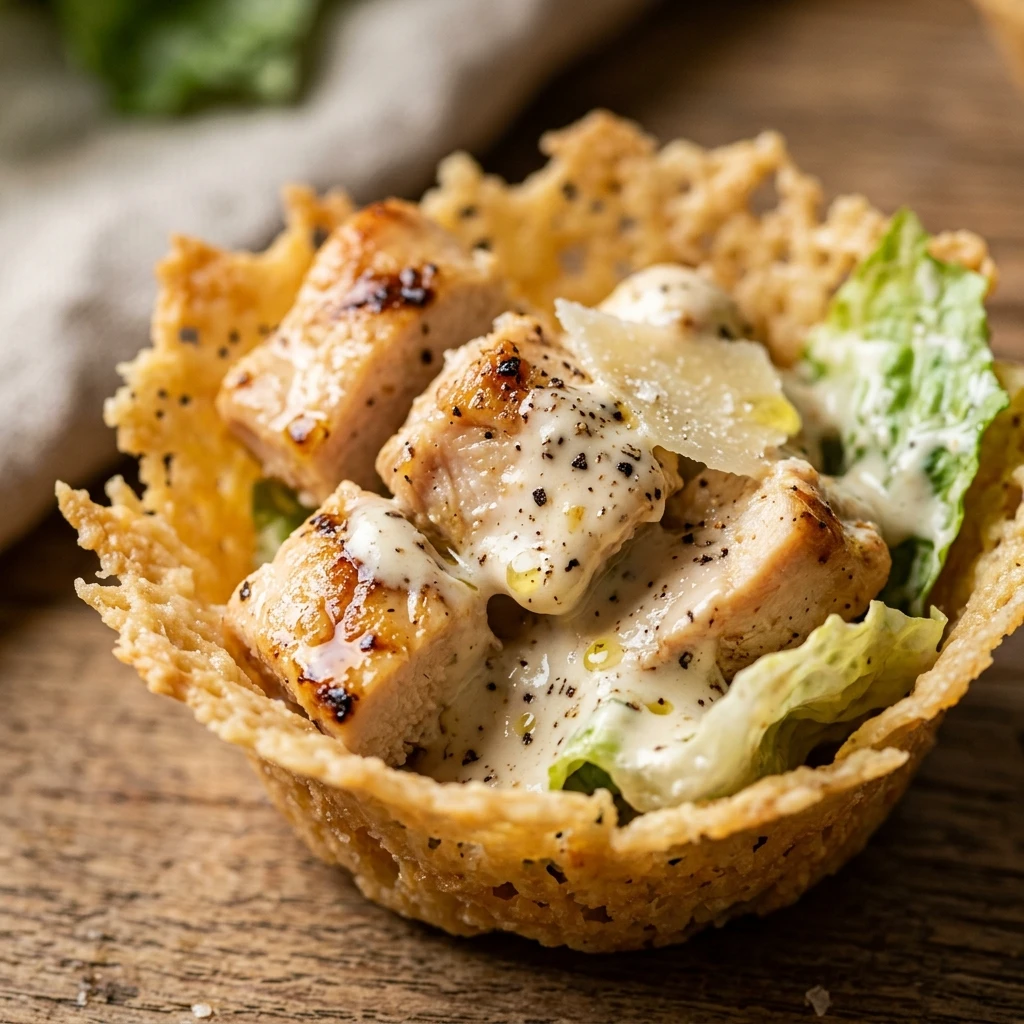
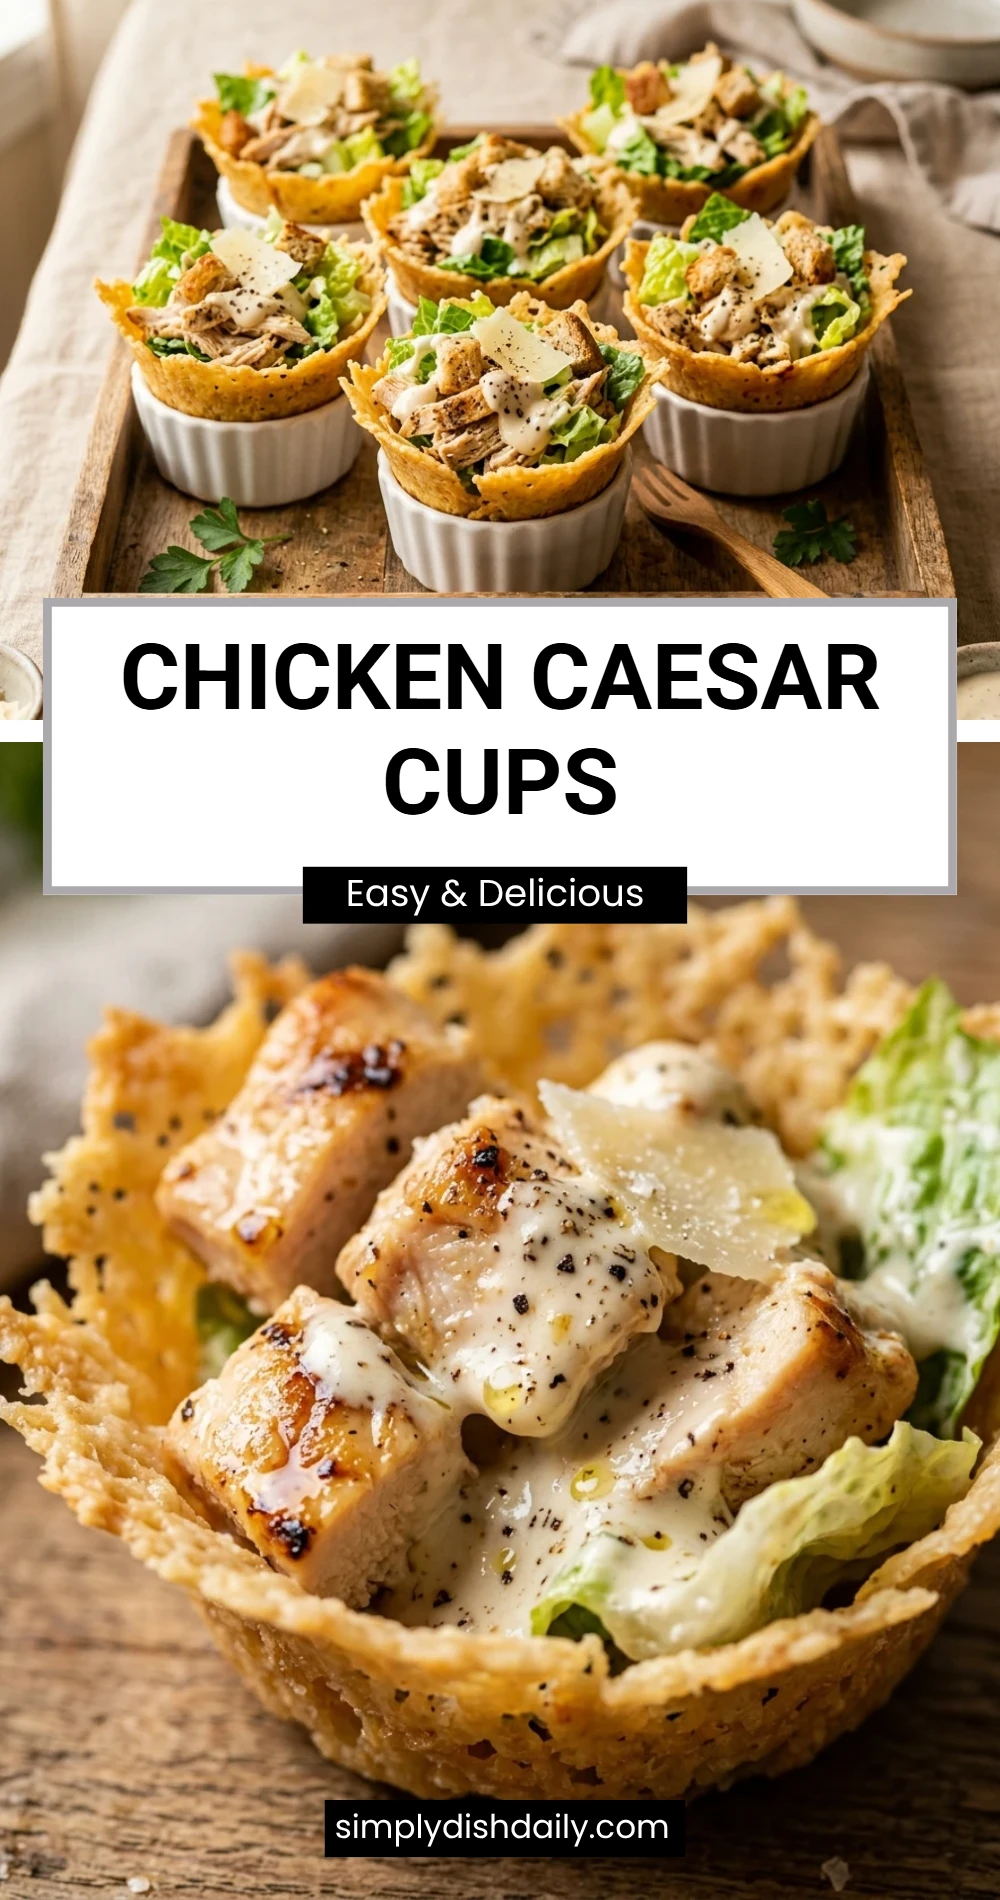
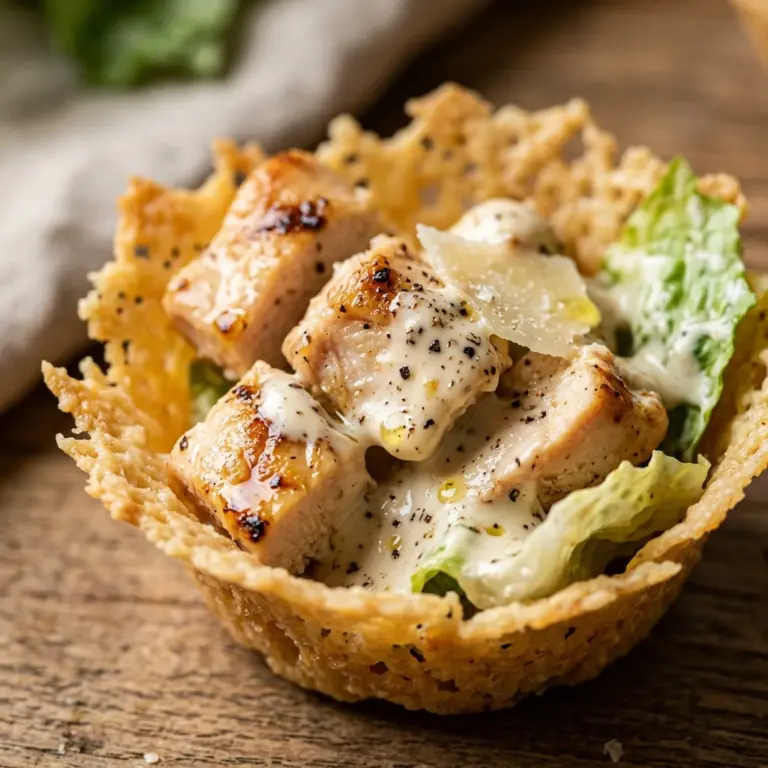
Imagine your favorite classic salad transformed into a crunchy, bite-sized appetizer. Chicken Caesar Cups take everything you love about a creamy Caesar salad—the savory chicken, the tangy dressing, and the sharp parmesan—and tuck it into a perfectly crisp shell. These are the ultimate crowd-pleaser for any gathering or a fun way to spice up your lunch routine.
Whether you are hosting a game day party, a bridal shower, or just looking for a kid-friendly snack, these cups deliver a sophisticated flavor with very little effort. They are light, fresh, and offer a satisfying crunch in every single mouthful. Plus, they look beautiful on a serving platter!
Recipe Information
- Prep Time: 15 minutes
- Cook Time: 10 minutes
- Total Time: 25 minutes
- Servings: 12 cups
- Difficulty Level: Easy
Nutrition Information
- Calories per serving: 115 kcal
- Protein: 9g
- Carbohydrates: 8g
- Fat: 5g
- Fiber: 0.5g
- Sugar: 1g
- Sodium: 290mg
Why Make This Chicken Caesar Cups
You should make these Chicken Caesar Cups because they are incredibly convenient. Using pre-cooked rotisserie chicken and store-bought won ton wrappers makes this recipe a breeze to assemble, even on your busiest days. It is a fantastic “shortcut” recipe that tastes like it took much longer to prepare than it actually did.
Another great reason to try this recipe is its versatility. It works perfectly as a light appetizer, but you can also serve three or four of them together for a complete and healthy lunch. The portion control is built right in, making it a smart choice for those looking to enjoy a savory treat without overindulging.
How to Make Chicken Caesar Cups
Creating these delightful appetizers is a simple two-part process: crisping the shells and mixing the fresh filling. Follow these easy steps to get a restaurant-quality result in your own kitchen.
Ingredients
- 12 won ton wrappers
- 2 cups cooked chicken, shredded or finely diced
- 1/3 cup creamy Caesar dressing
- 1 cup Romaine lettuce, finely shredded
- 1/4 cup shredded Parmesan cheese
- 1 tablespoon fresh lemon juice (optional)
- Cracked black pepper to taste
- Fresh parsley for garnish
Directions
Step 1: Preheat and Prepare
Preheat your oven to 375°F (190°C). Lightly spray a standard 12-slot muffin tin with non-stick cooking spray to ensure the wrappers don’t stick.
Step 2: Shape the Shells
Press one won ton wrapper into each muffin cup, gently pushing it down to form a cup shape. Make sure the edges stand up slightly to create a nice rim for your filling.
Step 3: Bake Until Crisp
Place the muffin tin in the oven and bake for 8 to 10 minutes. Watch them closely; you want them to be golden brown and firm to the touch. Remove from the oven and let them cool completely on a wire rack.
Step 4: Mix the Filling
In a medium mixing bowl, combine the shredded chicken, Caesar dressing, lemon juice, and black pepper. Stir well until the chicken is evenly coated in the creamy dressing.
Step 5: Assemble the Cups
Once the shells are cool, place a small pinch of shredded Romaine lettuce at the bottom of each cup. Spoon a generous tablespoon of the chicken mixture on top of the lettuce.
Step 6: Final Toppings
Sprinkle the shredded Parmesan cheese over each cup. Garnish with a small leaf of parsley or an extra pinch of black pepper if desired. Serve immediately while the shells are at their crunchiest.
How to Serve Chicken Caesar Cups
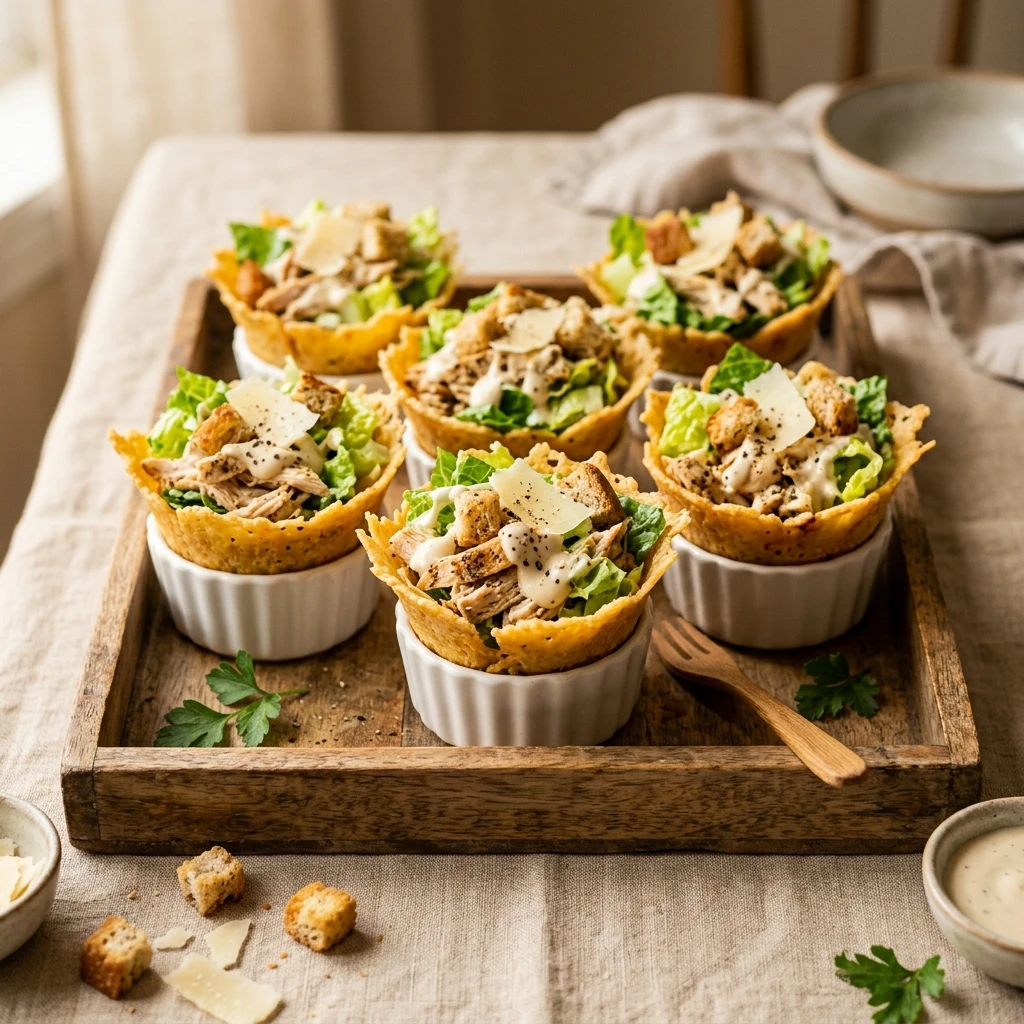
These cups are best served immediately after assembly to prevent the won ton shells from becoming soggy. Arrange them on a large white platter to make the green lettuce pop. If you are serving them at a party, you can provide a small dish of extra Caesar dressing on the side for those who like their salad extra creamy.
How to Store Chicken Caesar Cups
If you have leftovers, store the components separately. Keep the baked won ton shells in an airtight container at room temperature for up to 2 days. Store the chicken mixture in the refrigerator for up to 3 days. Do not assemble the cups until you are ready to eat, as the moisture from the dressing will soften the shells quickly in the fridge.
Expert Tips for Perfect Chicken Caesar Cups
To get the best results, use a high-quality, refrigerated Caesar dressing rather than the shelf-stable variety for a fresher taste. If you want extra crunch, you can add crushed croutons on top just before serving. Also, ensure the chicken is shredded very finely so that it fits comfortably into the small cups without falling out.
Delicious Variations
For a spicy twist, add a teaspoon of buffalo sauce to the chicken mixture. You can also make a “Mediterranean” version by swapping the Caesar dressing for hummus and adding chopped cucumbers and tomatoes. If you want a vegetarian option, replace the chicken with chickpeas or finely chopped hard-boiled eggs.
Frequently Asked Questions
Q: Can I use phyllo dough instead of won ton wrappers?
Yes, you can use layers of phyllo dough cut into squares, but won ton wrappers are much easier to handle and provide a sturdier base for the chicken filling.
Q: Can I make the shells ahead of time?
Absolutely! You can bake the shells up to 24 hours in advance. Just keep them in a sealed container so they stay crisp.
Q: What is the best way to shred the chicken?
Using two forks to pull the meat apart is the classic method, but you can also use a stand mixer with the paddle attachment to shred warm chicken in seconds.
Q: Are these gluten-free?
Standard won ton wrappers contain flour. To make this gluten-free, look for specialized gluten-free wrappers or use large slices of cucumber as the “cup” instead.
Q: How do I keep the lettuce from wilting?
Wait until the very last second to add the lettuce and chicken to the cups. Keeping the ingredients cold until assembly is the key to a fresh, crisp bite.
Conclusion
Chicken Caesar Cups are a delightful, easy-to-make snack that brings a touch of elegance to any occasion. With their perfect balance of creamy and crunchy textures, they are sure to be a hit with your family and friends. Give this recipe a try next time you need a quick appetizer that looks and tastes like a gourmet treat!
Chicken Caesar Cups
- Total Time: 25 minutes
Ingredients
- 12 won ton wrappers
- 2 cups cooked chicken, shredded or finely diced
- 1/3 cup creamy Caesar dressing
- 1 cup Romaine lettuce, finely shredded
- 1/4 cup shredded Parmesan cheese
- 1 tablespoon fresh lemon juice (optional)
- Cracked black pepper to taste
- Fresh parsley for garnish
Instructions
- Step 1: Preheat and Prepare: Preheat your oven to 375°F (190°C). Lightly spray a standard 12-slot muffin tin with non-stick cooking spray to ensure the wrappers don’t stick.
- Step 2: Shape the Shells: Press one won ton wrapper into each muffin cup, gently pushing it down to form a cup shape. Make sure the edges stand up slightly to create a nice rim for your filling.
- Step 3: Bake Until Crisp: Place the muffin tin in the oven and bake for 8 to 10 minutes. Watch them closely; you want them to be golden brown and firm to the touch. Remove from the oven and let them cool completely on a wire rack.
- Step 4: Mix the Filling: In a medium mixing bowl, combine the shredded chicken, Caesar dressing, lemon juice, and black pepper. Stir well until the chicken is evenly coated in the creamy dressing.
- Step 5: Assemble the Cups: Once the shells are cool, place a small pinch of shredded Romaine lettuce at the bottom of each cup. Spoon a generous tablespoon of the chicken mixture on top of the lettuce.
- Step 6: Final Toppings: Sprinkle the shredded Parmesan cheese over each cup. Garnish with a small leaf of parsley or an extra pinch of black pepper if desired. Serve immediately while the shells are at their crunchiest.
- Cook Time: 25 minutes
- Diet: Healthy