gluten free bread recipe
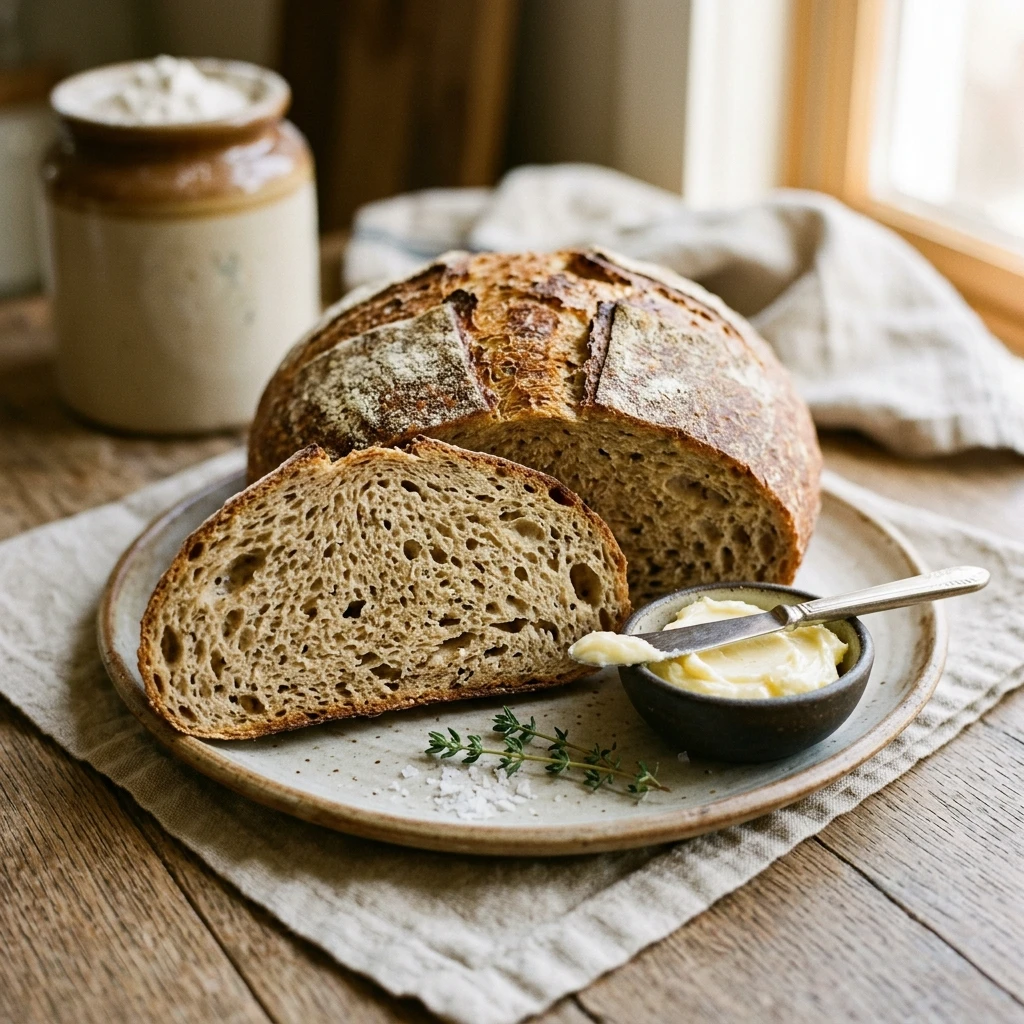
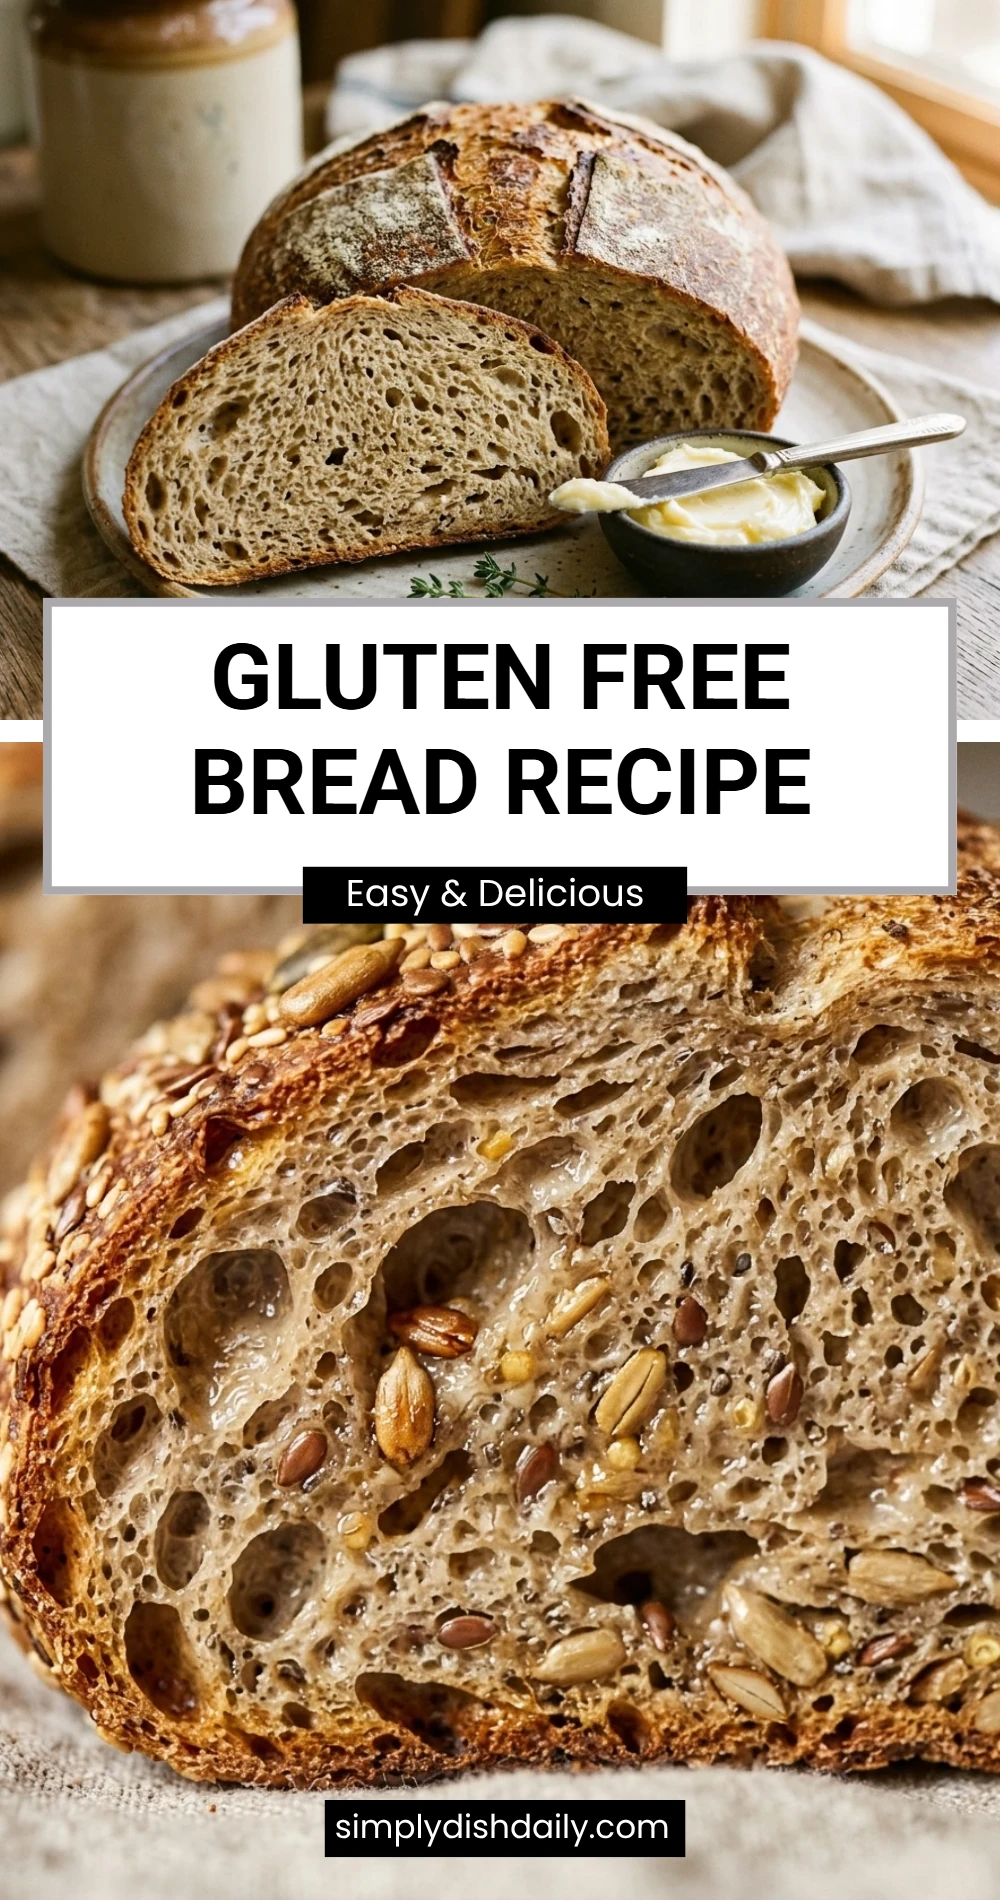
Finding a gluten-free bread that actually tastes like bread can feel like an impossible mission. Most store-bought options are either too dry, too crumbly, or have the texture of a kitchen sponge. This homemade gluten-free bread recipe changes everything. It is soft, flexible, and has a beautiful golden crust that makes it perfect for everything from morning toast to hearty afternoon sandwiches.
You do not need to be an expert baker to master this loaf. Unlike traditional wheat bread, there is no tedious kneading involved because there is no gluten to develop. Instead, we focus on creating a smooth, hydrated batter that rises beautifully in the pan. Whether you are new to gluten-free living or a seasoned pro looking for a reliable daily loaf, this recipe will quickly become a staple in your kitchen.
Recipe Information
- Prep Time: 15 minutes
- Cook Time: 40 minutes
- Total Time: 1 hour 55 minutes (includes 1 hour rising time)
- Servings: 12 slices
- Difficulty Level: Medium
Nutrition Information
- Calories per serving: 185 kcal
- Protein: 4g
- Carbohydrates: 32g
- Fat: 5g
- Fiber: 3g
- Sugar: 3g
- Sodium: 310mg
Why Make This gluten free bread recipe
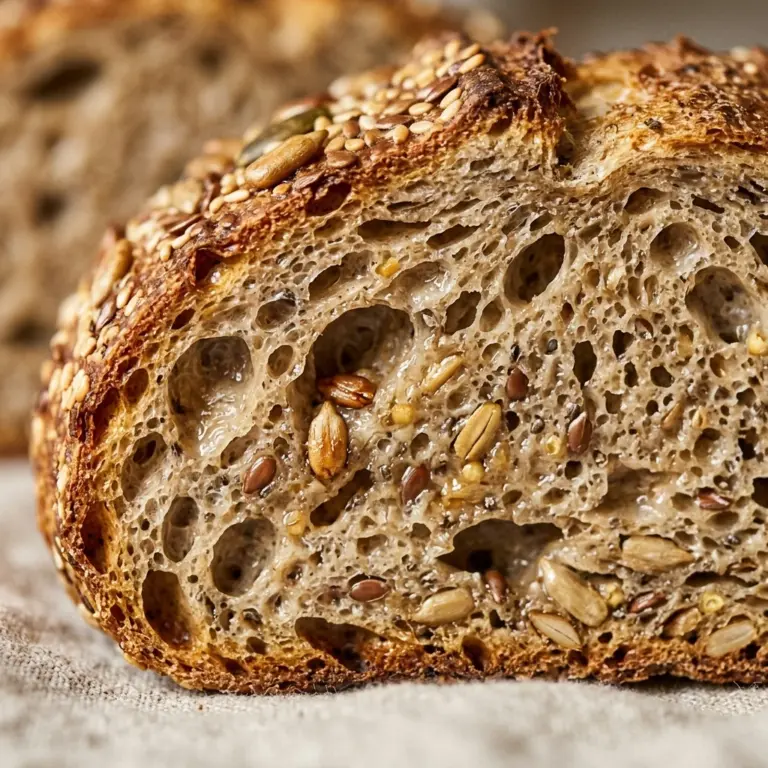
The best reason to make this gluten-free bread recipe is the texture. By using a combination of a high-quality flour blend and specific wet ingredients like apple cider vinegar and eggs, we achieve a crumb that is light and airy rather than dense and heavy. It actually holds together when you spread cold butter on it, which is the ultimate test for any gluten-free loaf.
Another benefit is the cost and health factor. Buying specialty bread at the store is expensive and often filled with unnecessary preservatives. When you bake it at home, you know exactly what is going into your body. Plus, the smell of fresh bread wafting through your house is a therapeutic experience that no grocery store plastic bag can replicate.
How to Make gluten free bread recipe
Baking gluten-free bread is more like mixing a thick cake batter than handling a traditional dough. Follow these steps carefully to ensure your loaf rises tall and stays moist.
Ingredients
- 3 cups gluten-free all-purpose flour blend (ensure it contains xanthan gum)
- 1.5 teaspoons salt
- 1.5 teaspoons xanthan gum (only if your flour blend does not include it)
- 2.25 teaspoons (1 packet) instant yeast
- 1.25 cups warm water (about 105°F – 110°F)
- 2 tablespoons honey or maple syrup
- 3 tablespoons olive oil or melted coconut oil
- 1 teaspoon apple cider vinegar
- 2 large eggs, room temperature
Directions
Step 1: Prepare the Pan and Oven
Lightly grease a 9×5 inch loaf pan with oil or line it with parchment paper. Preheat your oven to 350°F (175°C). Ensuring the pan is well-prepped prevents the bread from sticking to the sides after baking.
Step 2: Mix the Dry Ingredients
In a large mixing bowl or the bowl of a stand mixer, whisk together the gluten-free flour blend, salt, yeast, and extra xanthan gum if needed. Make sure the ingredients are evenly distributed to avoid clumps in the finished bread.
Step 3: Combine the Wet Ingredients
In a separate medium bowl, whisk together the warm water, honey, olive oil, apple cider vinegar, and eggs. The water should be warm to the touch but not hot, as excessive heat can kill the yeast and prevent the bread from rising.
Step 4: Create the Dough
Pour the wet ingredients into the dry ingredients. Using a stand mixer with a paddle attachment or a hand mixer, beat on medium-high speed for about 3 to 5 minutes. The dough will look more like a thick, sticky batter than traditional bread dough.
Step 5: The Proofing Phase
Scoop the batter into the prepared loaf pan and smooth the top with a wet spatula. Cover the pan with a clean, damp kitchen towel and let it rise in a warm, draft-free spot for 45 to 60 minutes. The dough should rise until it is just level with or slightly above the top of the pan.
Step 6: Baking the Bread
Place the pan in the center of the preheated oven. Bake for 35 to 40 minutes. The top should be golden brown, and the internal temperature should reach about 205°F if checked with a meat thermometer. If the top browns too quickly, cover it loosely with foil for the last 10 minutes.
Step 7: Cooling and Slicing
Remove the bread from the oven and let it cool in the pan for 5 minutes. Then, transfer the loaf to a wire cooling rack. It is crucial to let the bread cool completely (about 1-2 hours) before slicing. Gluten-free bread continues to set its structure as it cools; cutting it too early will result in a gummy texture.
How to Serve gluten free bread recipe
This bread is incredibly versatile. For the best experience, serve it toasted with a generous spread of salted butter or smashed avocado. It also works beautifully for French toast because it absorbs the custard without falling apart. If you’re making a sandwich, try a classic turkey and Swiss or a gooey grilled cheese—this bread gets perfectly crispy on the outside when pan-fried.
How to Store gluten free bread recipe
Since this bread lacks preservatives, it is best eaten within two days if kept at room temperature in an airtight container. For longer storage, slice the loaf once it has cooled completely and place the slices in a freezer-safe bag. You can toast individual slices directly from the freezer whenever you need a quick snack or meal.
Expert Tips for Perfect gluten free bread recipe
Always use room-temperature eggs. Cold eggs can shock the yeast and slow down the rising process. Additionally, check your yeast to make sure it is fresh; if it doesn’t foam slightly when mixed with the warm water and honey, it might be expired. Finally, use a digital scale to measure your flour if possible, as gluten-free flours vary significantly in weight depending on how they are scooped.
Delicious Variations
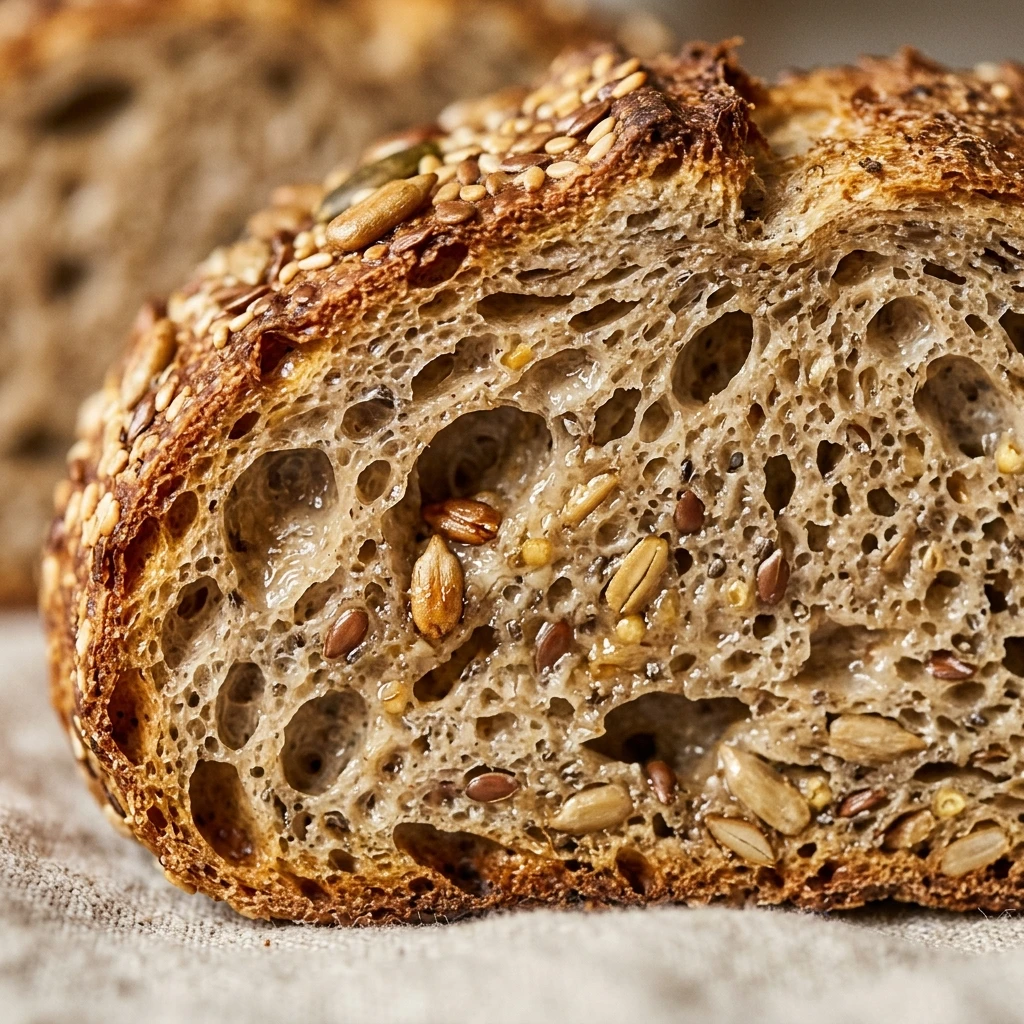
You can easily customize this base recipe. For a savory herb loaf, add 1 tablespoon of dried rosemary or Italian seasoning to the dry mix. If you prefer a slightly sweet bread, add 1/2 cup of raisins and 1 tablespoon of cinnamon. For extra texture, top the wet batter with sunflower seeds, sesame seeds, or poppy seeds before the rising phase.
Frequently Asked Questions
Q: Can I make this bread vegan?
You can substitute the honey with maple syrup and use a commercial egg replacer or “flax eggs” (2 tablespoons ground flaxseed mixed with 6 tablespoons water), though the loaf may be slightly denser.
Q: Why did my bread collapse after baking?
This usually happens if the bread rose too much (over-proofing) or if there was too much moisture in the batter. Try reducing the rise time by 10 minutes next time.
Q: Can I use a bread machine?
Yes, use the “Gluten-Free” setting on your machine. Ensure you add the liquids first and the dry ingredients on top unless your manufacturer’s instructions state otherwise.
Q: Do I really need apple cider vinegar?
The vinegar reacts with the yeast and the leavening agents in the flour to create a better rise and a lighter crumb. You won’t taste the vinegar in the finished product.
Q: What is the best flour blend to use?
Look for a blend that uses a mix of rice flour, potato starch, and tapioca starch. Brands like King Arthur Measure for Measure or Cup4Cup usually yield excellent results.
Conclusion
Baking your own gluten-free bread is a rewarding experience that brings the joy of fresh bakery scents into your home. With its soft texture and reliable rise, this recipe proves that gluten-free living doesn’t mean sacrificing the simple pleasure of a good slice of bread. Give it a try, and you might never go back to store-bought loaves again!
gluten free bread recipe
- Total Time: 1 hour 55 minutes
Ingredients
- 3 cups gluten-free all-purpose flour blend (ensure it contains xanthan gum)
- 1.5 teaspoons salt
- 1.5 teaspoons xanthan gum (only if your flour blend does not include it)
- 2.25 teaspoons (1 packet) instant yeast
- 1.25 cups warm water (about 105°F – 110°F)
- 2 tablespoons honey or maple syrup
- 3 tablespoons olive oil or melted coconut oil
- 1 teaspoon apple cider vinegar
- 2 large eggs, room temperature
Instructions
- Step 1: Prepare the Pan and Oven: Lightly grease a 9×5 inch loaf pan with oil or line it with parchment paper. Preheat your oven to 350°F (175°C). Ensuring the pan is well-prepped prevents the bread from sticking to the sides after baking.
- Step 2: Mix the Dry Ingredients: In a large mixing bowl or the bowl of a stand mixer, whisk together the gluten-free flour blend, salt, yeast, and extra xanthan gum if needed. Make sure the ingredients are evenly distributed to avoid clumps in the finished bread.
- Step 3: Combine the Wet Ingredients: In a separate medium bowl, whisk together the warm water, honey, olive oil, apple cider vinegar, and eggs. The water should be warm to the touch but not hot, as excessive heat can kill the yeast and prevent the bread from rising.
- Step 4: Create the Dough: Pour the wet ingredients into the dry ingredients. Using a stand mixer with a paddle attachment or a hand mixer, beat on medium-high speed for about 3 to 5 minutes. The dough will look more like a thick, sticky batter than traditional bread dough.
- Step 5: The Proofing Phase: Scoop the batter into the prepared loaf pan and smooth the top with a wet spatula. Cover the pan with a clean, damp kitchen towel and let it rise in a warm, draft-free spot for 45 to 60 minutes. The dough should rise until it is just level with or slightly above the top of the pan.
- Step 6: Baking the Bread: Place the pan in the center of the preheated oven. Bake for 35 to 40 minutes. The top should be golden brown, and the internal temperature should reach about 205°F if checked with a meat thermometer. If the top browns too quickly, cover it loosely with foil for the last 10 minutes.
- Step 7: Cooling and Slicing: Remove the bread from the oven and let it cool in the pan for 5 minutes. Then, transfer the loaf to a wire cooling rack. It is crucial to let the bread cool completely (about 1-2 hours) before slicing. Gluten-free bread continues to set its structure as it cools; cutting it too early will result in a gummy texture.
- Cook Time: 1 hour 55 minutes (includes 1 hour rising time)
- Diet: Gluten-Free